
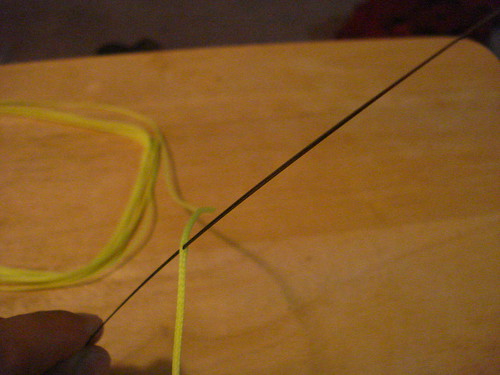
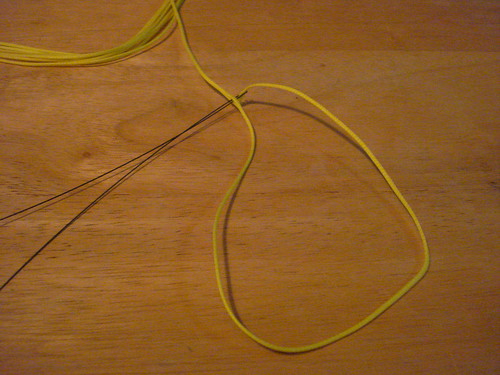
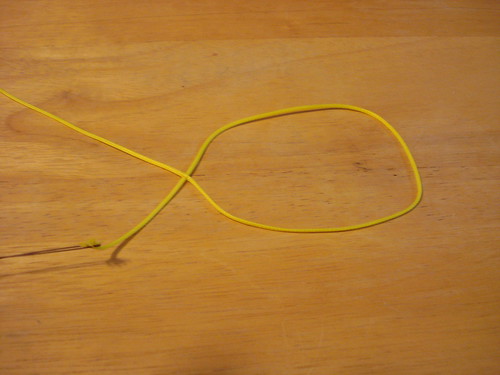
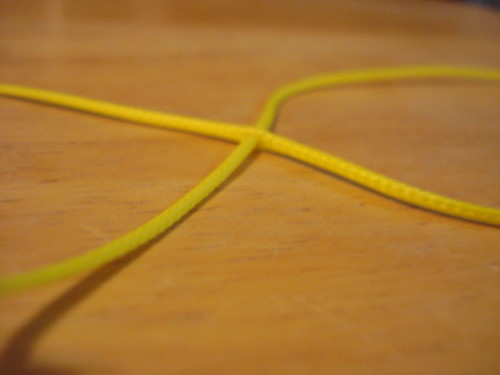
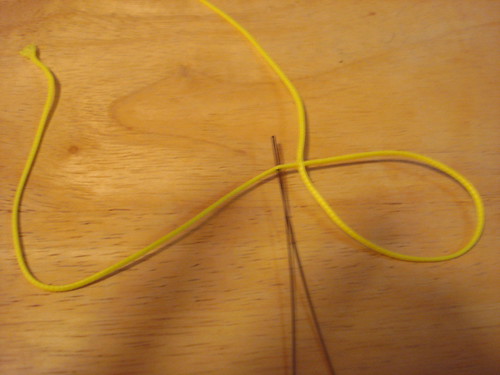
Step 8. Put the long end in the tool.
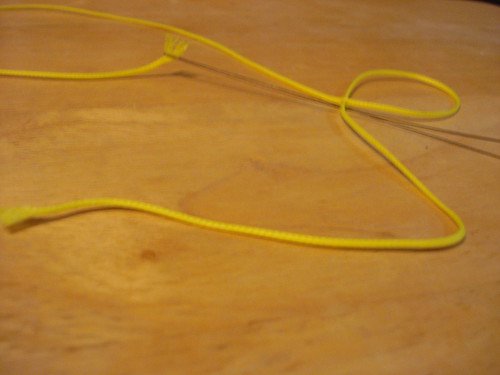
Step 9. Pull through.

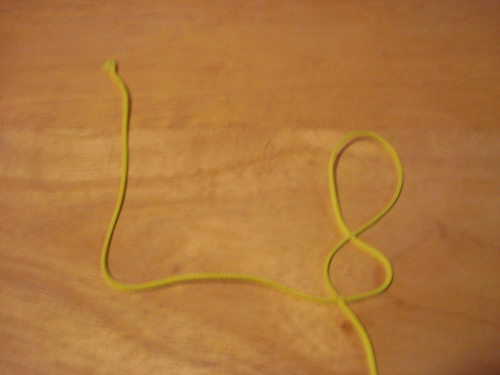
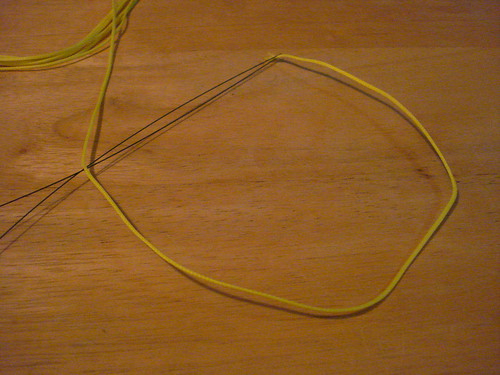
Step 10. Put your finger in the first loop and pull gently. Both sides will meetup. (backbraided 2x)
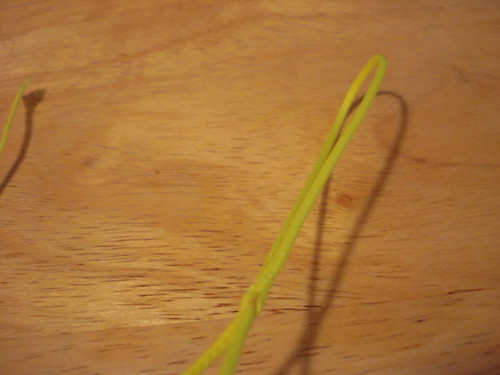
Step 11. Next we are going to go in through the long side and pull the tag through. Stick the tool through close to the backbraid that is developing. (backbraided 3x)
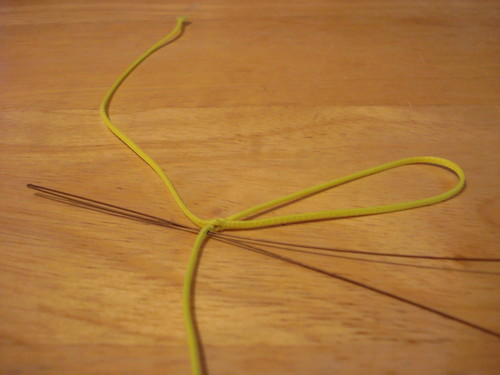
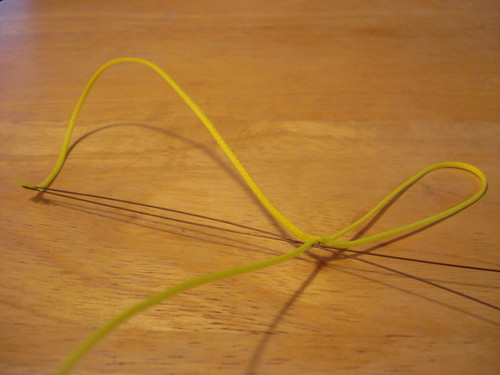

Step 12. Go in through the tag and pull the long side through. (backbraided 4x)
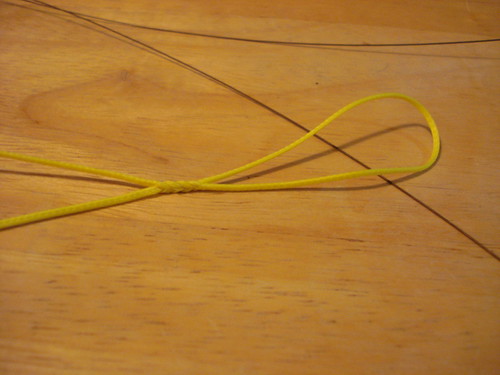
Step 13. Go in through the long side and pull the tag through. (backbraided 5x)
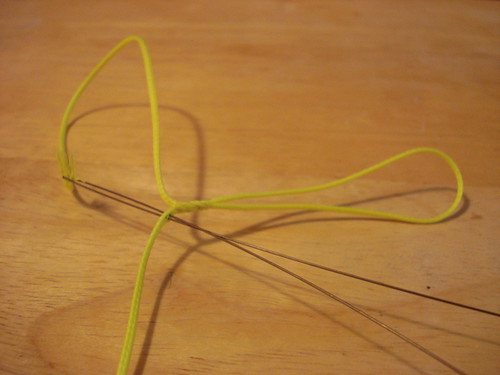
Step 14. The basic loop is done! The rest is fairly easy.
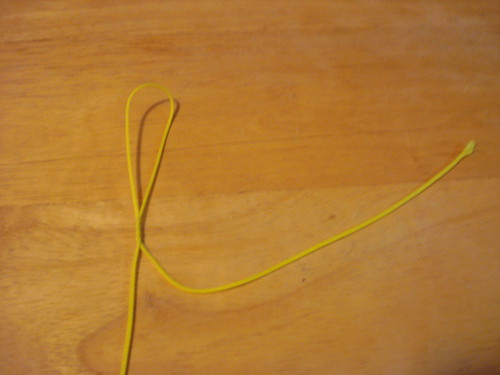
Step 15. Run the tool down through the dacron and out at the loop.
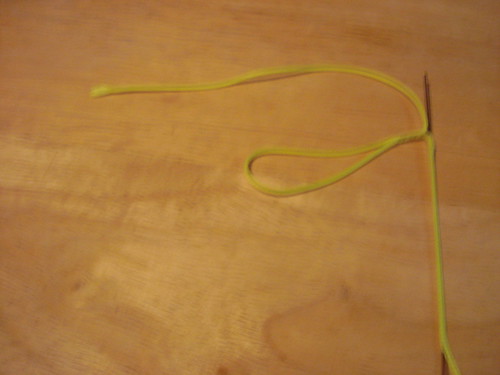
Step 16. Put the tag end into the tool and pull through.

Step 18. This is what you’ll get.
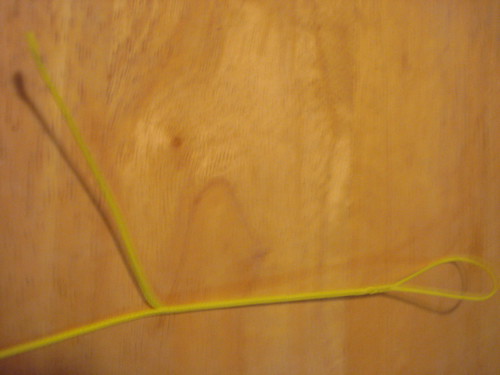
Step 19. Run the tool down through the dacron again and out where the tag exits.

Step 20. Put the middle of the tag end in the tool.
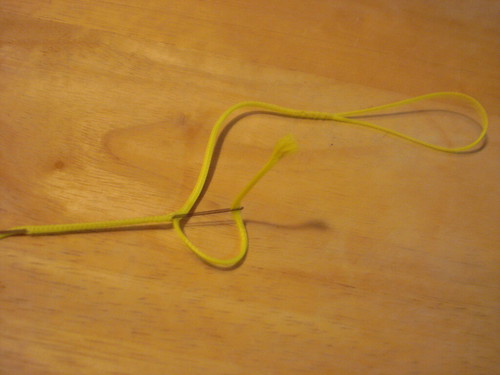
Step 21. Pull through with the tag still doubled. The idea here is to keep the tag folded in half inside of the dacron. So once you get it
tight and before you pull it though, push the tool in the opposite direction and out through the dacron. The dacron is folded in half inside itself. This makes it a little thicker and allmost equal in diameter to 300lb mono.
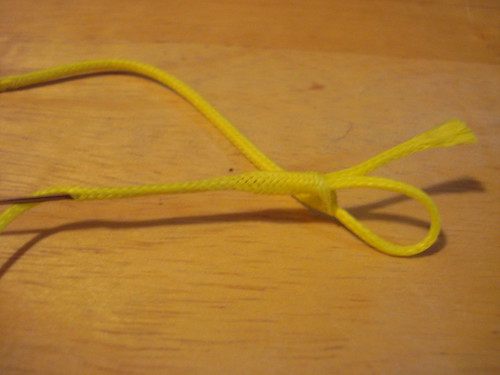
Step 22. Your done with the loop. Steps 1-22 should take around 5-10 minutes once you figure it out.
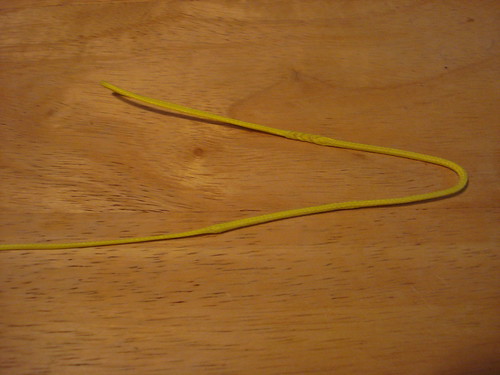
Step 23. Set the loop aside. Get your mono and some sandpaper. This is 200lb mono.

Step 24. Lightly sand the end of the mono. You want the sides to be a little skinnier and the tip to be dome shaped.
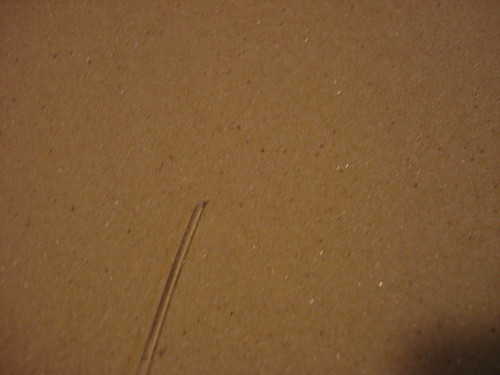
Step 25. The long end of your loop shoud look something like this.
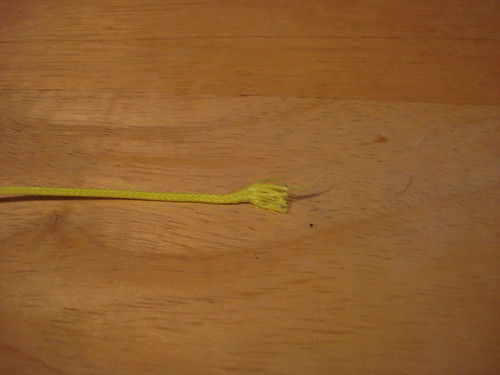
Step 26. Start threading the end of the mono into the dacron.
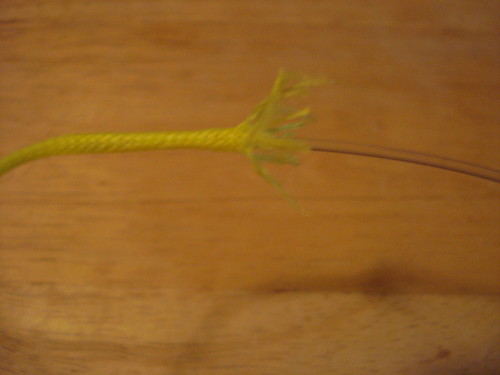
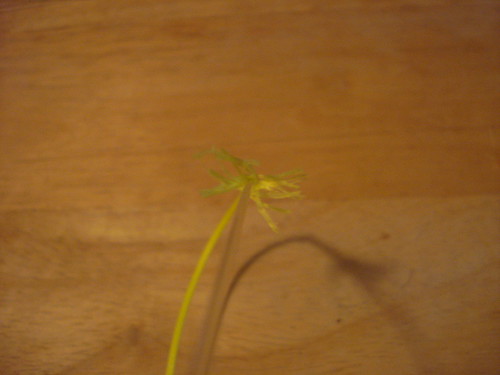
Step 27. Keep threading. It’s an inchworming process.
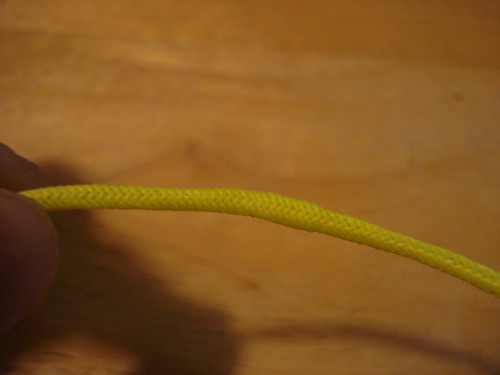
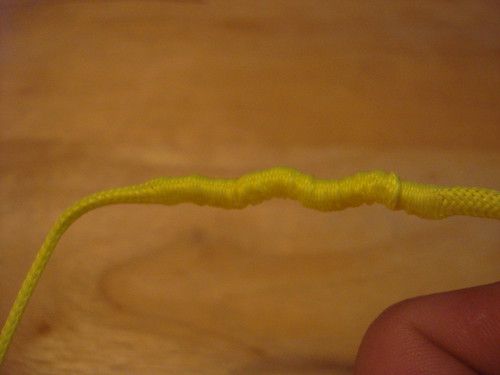
Step 27. Thread it up untill it meets the doubled dacron from the loop. (Step 21.)
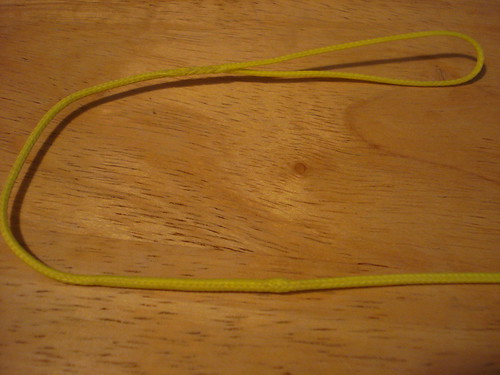
Step 28. You should have something like this.
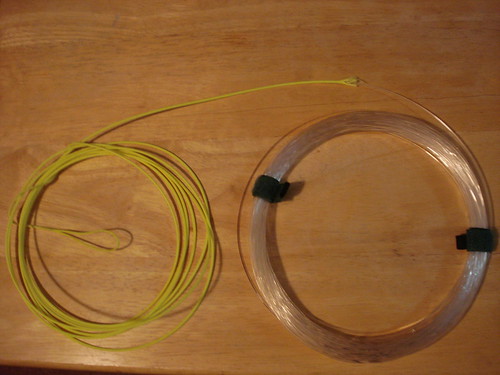
Step 29. Next we have to apply super glue gel to the connection. We want to glue 10-12″ of mono. Scrunch back 10-12 inches of the dacron, keeping it between your thumb, index finger, and pinky.
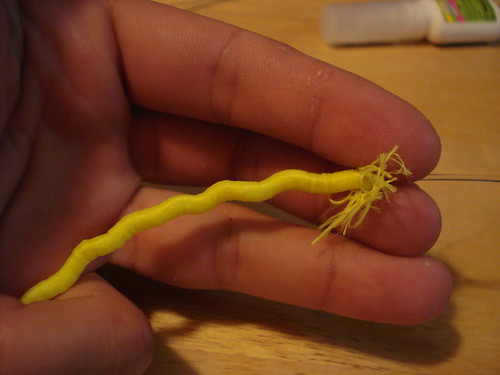
Step 30. Apply the super glue gel to the mono.
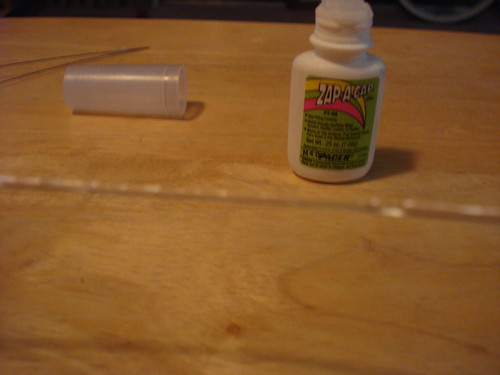
Step 31. In one quick motion, let the scrunched up dacron go, and run your fingers down the connection.
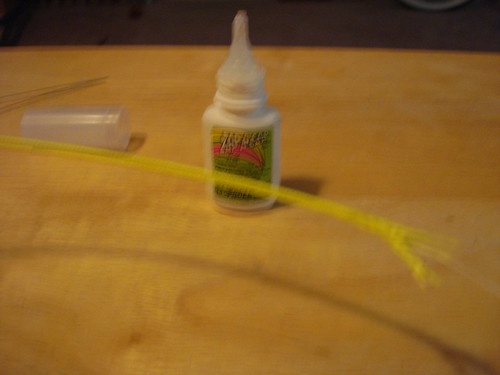
Step 32. Next, we are going to serve the connection so it can’t unravel. Get about 2 feet of rigging or dental floss.
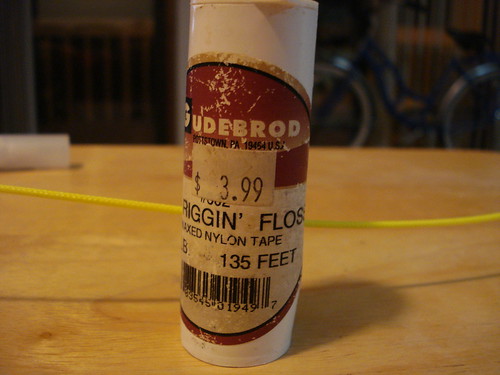
Step 33. Double it and put it behind the connection.
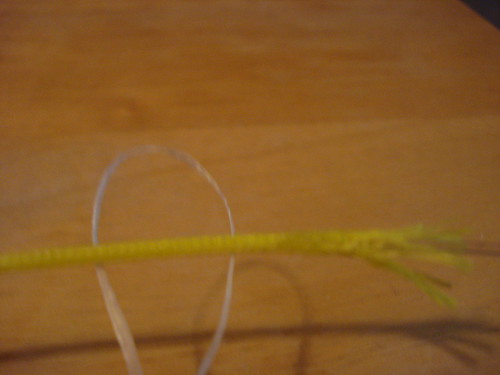
Step 34. Go around the mono and through the loop. Tighten!
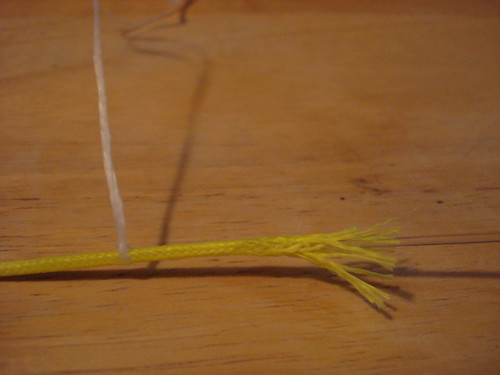
Step 35. Make a bunch of loop knots like this.

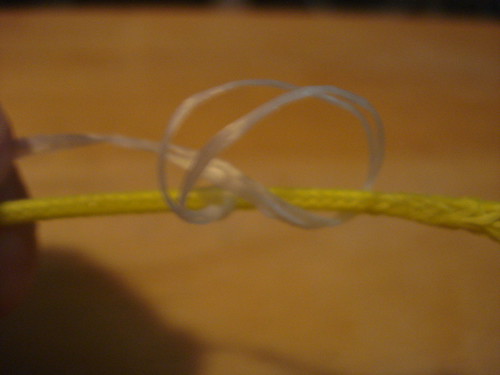
Step 36. If you keep your knot formation uniform, it will look like this.
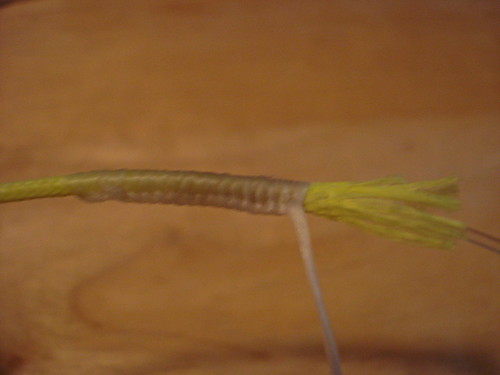
Step 37. Keep going untill your 5 or 6 knots past the end of the dacron. The last few knots will be on just mono. Once you feel like you have enough knots, pull the last on extra tight, snip it leaving 1/4″ of tag in the floss. Twist the floss strands together and heat with a lighter.
This will make a blob that won’t pull back through all your loop knots.
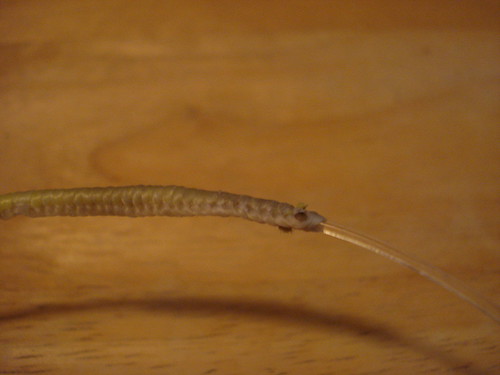
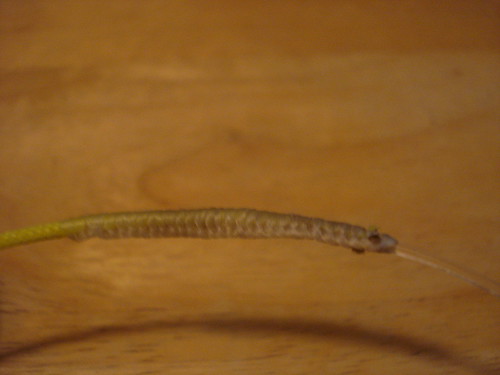
Step 38. Your done!

From start to finish it takes me 10 minutes or so to make a leader. They are very strong and hold up well. I have 100 feet of 200 lb on my 9/0, 75 feet of 300lb on my 12/0, and 20 feet of 100lb on my penn 9500. The 9500 casts extremely well and you can get away with a shorter ‘bite’ leader.
Anyway, they are relatively easy to make, go through the guides perfectly, and hold up well. You can make up a bunch and store in leader wallets or zip lock bags, so your always ready.


